Capture the Thrill: Essential Tips for Stunning Mountain Biking Photography

Are you passionate about mountain biking and want to capture the adrenaline, the scenery, and the sheer excitement that comes with every ride? Mountain biking photography isn’t just about snapping pictures—it’s about telling a story that connects riders, nature lovers, and adventurous souls alike. Whether you're an amateur photographer or a seasoned pro, mastering this niche requires understanding the unique challenges and opportunities the sport offers. So, how do you transform dynamic action into breathtaking images? Let’s dive into essential tips that will elevate your mountain biking photography.
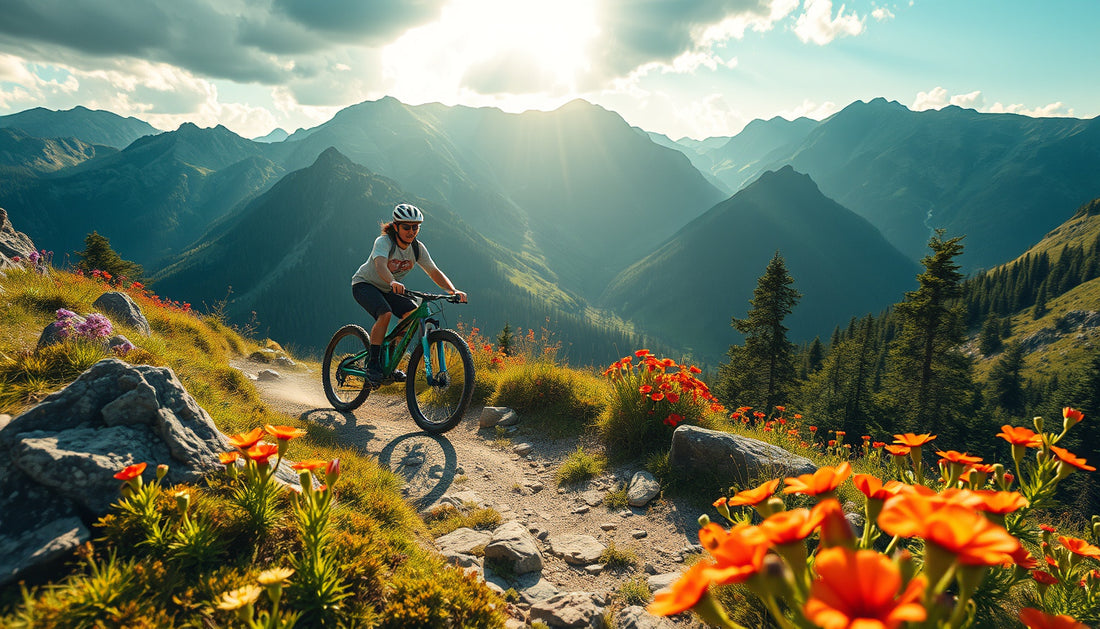
Why Mountain Biking Photography?
Mountain biking represents a perfect fusion of human endurance, technique, and the wild beauty of the outdoors. But capturing this essence can be tricky. Riders move fast over unpredictable terrain, lighting conditions shift dramatically with the forest canopy or mountainside, and the moments worth capturing may be fleeting.
At its core, mountain biking photography aims to:
- Illustrate the rider’s skill and emotion
- Showcase the natural environment’s rugged beauty
- Convey motion, speed, and excitement in still images
As renowned adventure photographer Corey Rich states, “The best photos tell a story—a moment frozen in time that evokes emotion and inspires adventure.” This philosophy drives the heart of every striking mountain biking shot.
Essential Tips for Stunning Mountain Biking Photography
1. Know Your Terrain and Rider
Before picking up your camera, scout the trail. Understanding the terrain lets you predict where the most photogenic moments will appear—like a tricky drop, tight turn, or expansive vista. Spend time with the rider to learn their style and preferred lines. This collaboration often makes the difference between a good shot and a breathtaking one.
2. Choose the Right Gear
Camera gear can make or break your mountain biking shots:
- Camera: A DSLR or mirrorless camera with fast autofocus is ideal. These models adapt quickly to changing action and light.
- Lens: A wide-angle lens (16-35mm) captures sweeping landscapes, while a telephoto lens (70-200mm) lets you zoom in tight on riders from a safe distance.
- Accessories: Consider a tripod for stable landscape shots and a gimbal if shooting video. Don’t forget extra batteries and memory cards; action days can be long!
3. Master Your Camera Settings
Capturing sharp motion in fast-moving subjects is challenging but rewarding:
- Shutter Speed: For freezing riders mid-air or on the trail, use a fast shutter speed (1/1000s or faster). Blur motion artistically by slowing the shutter (around 1/30s-1/60s) and panning with the rider.
- Aperture: Use a wider aperture (f/2.8–f/5.6) to blur backgrounds and emphasize your subject, or narrow it (f/8–f/11) for more of the environment in focus.
- ISO: Keep ISO low to reduce noise, but don’t hesitate to increase it in low light conditions like dense forests or dusk.
- Focus Mode: Use continuous autofocus (AI Servo/AF-C) to track moving riders accurately.
4. Harness Natural Light
Mountain biking scenes offer dazzling natural light opportunities. Early mornings and late afternoons provide the golden hour’s soft warm glow, emphasizing texture and depth. Midday sun can cause harsh shadows, so shooting in shaded forested areas or using a diffuser may help.
5. Experiment with Angles and Perspectives
Why settle for eye-level shots? Get creative:
- Low Angle: Position your camera low to the ground for dramatic, powerful shots showing riders leaping or sprinting.
- Overhead Shots: Use drones or high vantage points to convey scale and trail complexity.
- Behind the Rider: Gives viewers the sensation of following along the trail.
6. Capture Emotion and Details
Don’t overlook candid moments—intense concentration, joyful grins, mud-splattered gear—all tell the rider’s story. Close-ups of hands gripping handlebars, wheels kicking up dirt, or facial expressions add a dynamic human element.
7. Safety First — For Everyone
Mountain biking trails can be dangerous. Always prioritize safety for both the photographer and rider. Stay off the trail itself unless given explicit permission, wear suitable gear, and be mindful of your surroundings. Planning shooting spots where you won’t interfere with the flow of cyclists is key.
A Final Word on the Art of Mountain Biking Photography
Photography in mountain biking is more than technical skill; it demands empathy and passion for the sport and nature. As Elizabeth Millard, a professional outdoor photographer, notes: “To really capture mountain biking, you have to feel the trail—the rock, the wind, the adrenaline. The camera is just an extension of your own experience.”
So, are you ready to capture the thrill, the grit, and the glory of mountain biking in photos that truly inspire? Grab your camera, hit the trails, and start framing those moments that narrate the epic journey between rider and wilderness.
Call to Action
Have you tried mountain biking photography? Share your favorite tips or your most exhilarating photos in the comments below! If you’re looking for more expert advice or want to join a community passionate about outdoor adventure photography, subscribe to our blog for the latest guides, gear reviews, and inspiring stories. Let’s explore the wild beauty and excitement of mountain biking together—one shot at a time!